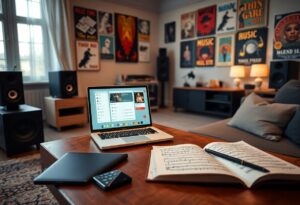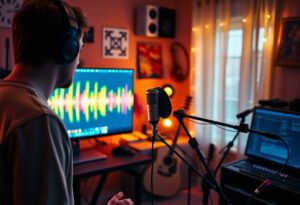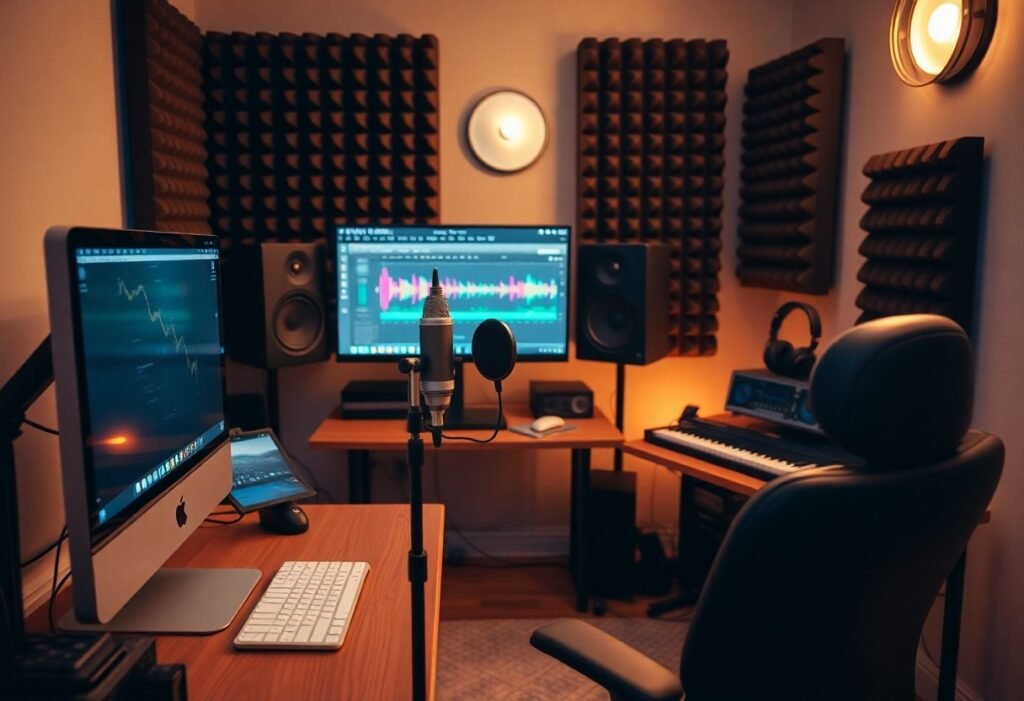
Creating high-quality recordings has changed from expensive studios to affordable home setups. This lets you be creative without spending a lot. By choosing the right budget-friendly equipment and optimizing your space, you can get professional-sounding results. This guide will help you build your own home recording studio on a budget, so you can focus on your music and sound production.

Planning Your Home Recording Studio
Planning is key for a successful home recording studio. First, think about what you need and how you want to work. Set a budget and decide on the equipment you’ll need. A good plan helps avoid unnecessary costs and ensures your studio meets your recording goals.
Defining Your Recording Needs
Your needs depend on the music or audio projects you’re working on. Are you recording instruments or capturing clear vocals for podcasts? Knowing your needs helps you focus on the right equipment and create a setup that boosts your productivity without overspending.
Choosing a Suitable Space
Finding the right space is critical for quality recordings. Look for a quiet area with little outside noise. It should be well-insulated and have a power source. The room’s size and shape also affect your recordings’ acoustics.
Also, consider a space with good ventilation and lighting for comfort during long sessions. A clutter-free room helps you organize your gear. A larger space allows for easier movement for different setups. Your studio’s look can also inspire creativity, so choose a space that motivates and boosts your productivity.

Essential Equipment for a Budget Studio
Creating a budget-friendly home recording studio means choosing the right equipment. You don’t need to spend a lot to get quality sound. Focus on the most important items that meet your needs, and add more as you grow.
Audio Interface
The audio interface connects your instruments, microphones, and computer. It converts analog signals to digital for better quality. Choose an interface with multiple inputs and outputs to fit your needs without breaking the bank.
Microphones and Headphones
Microphones and headphones are vital for your studio. Invest in a dynamic microphone for vocals and instruments, as they’re affordable and durable. High-quality headphones are essential for monitoring sound during recording and mixing.
Good microphones capture sound clearly, while reliable headphones help you hear every detail. A closed-back headphone design prevents sound leakage, ensuring the best listening experience. Investing in these tools greatly improves your studio’s output.
Acoustic Treatment on a Budget
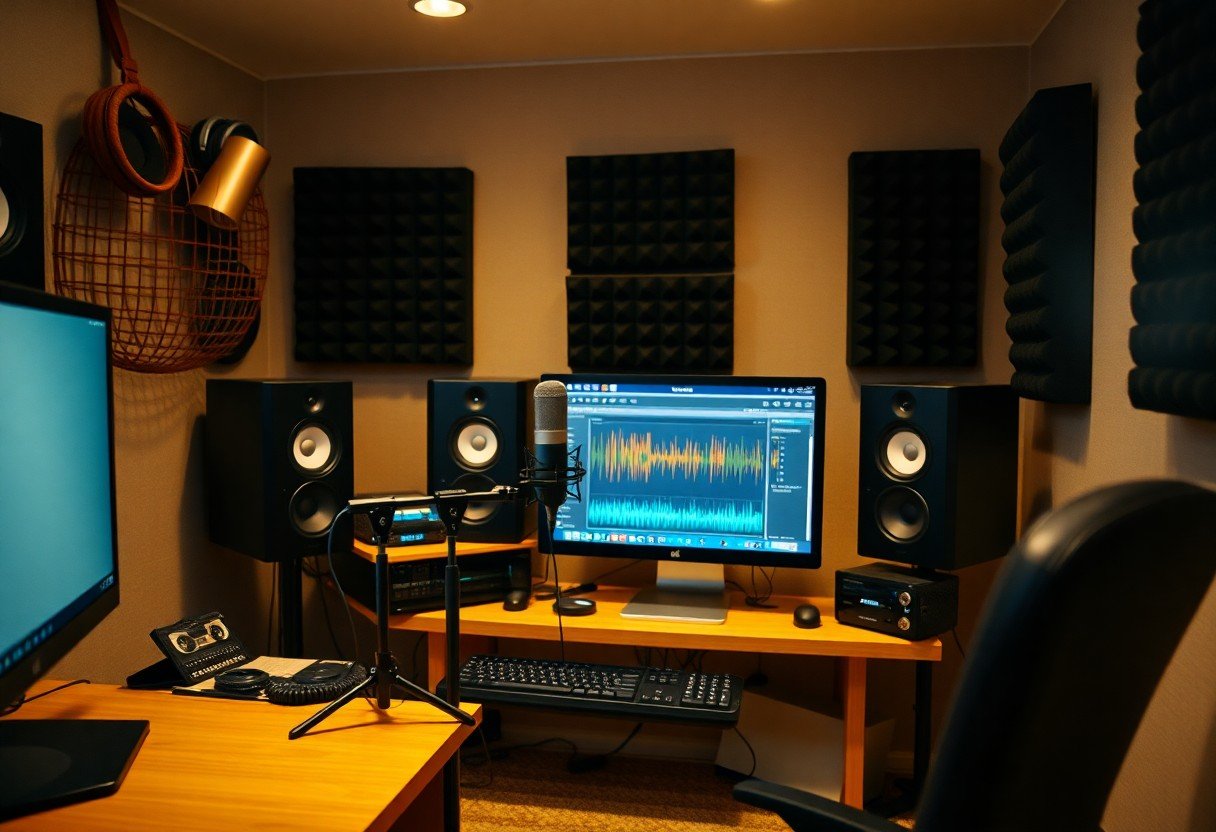
Improving your studio’s acoustics is key to quality recordings. You don’t have to spend a lot to make a difference. Use affordable materials to treat corners with bass traps and absorb sound with rugs and curtains. Small changes can make a big difference in your recordings’ clarity and quality.
Soundproofing vs. Acoustic Treatment
Understanding soundproofing and acoustic treatment helps you budget better. Soundproofing blocks sound from entering or leaving, requiring expensive materials and construction. Acoustic treatment improves sound within your room, making it more affordable and practical for your home studio.
DIY Acoustic Panels
Making your own acoustic panels is a budget-friendly way to improve your studio’s sound. You can use materials like fiberboard, rockwool, or foam to absorb sound reflections. This way, you can customize the panels to fit your studio’s look and sound needs.
Creating your own panels is both fun and affordable. You’ll need basic materials from local stores or online. Use old picture frames and fabric for a stylish look. Make sure to cover the insulation material safely. With some effort, you can greatly improve your studio’s sound quality while saving money.
Software and Recording Tools
After setting up your studio, it’s time to choose the right software and tools. Check out The Ultimate Home Studio Setup Guide for 2024 on any budget for tips. With many DAWs and plugins, you can make great music without spending a lot.
Digital Audio Workstations (DAWs)
Digital Audio Workstations (DAWs) are key for recording and editing music. Options like Ableton Live, FL Studio, and Reaper suit both beginners and pros. Choose based on your workflow and music style.
Free and Affordable Plugins
Software plugins can enhance your recordings without costing much.
Look for free or cheap plugins to expand your sound. There are many high-quality free options for instruments and effects. Also, check for discounted premium plugins during sales. Make sure they work with your DAW for smooth production.
Setting Up Your Studio
Creating a home recording studio on a budget needs careful planning. Designate a space for your studio that’s sound-friendly and organized. Use affordable materials and DIY solutions to set it up without overspending.
Ergonomics and Layout
For a comfy and productive workspace, focus on ergonomics and layout. Place your desk and gear to avoid strain and boost productivity. Keep everything you need close, and think about your monitor and mic placement.
Cable Management
Cables can quickly clutter your studio. A tidy setup looks good and keeps your gear safe.
Keep cables tucked away to avoid tripping. Use cable organizers and clips to manage them. This makes troubleshooting easier, keeps your studio neat, and can even help your gear last longer.
Recording Techniques for Beginners
Learning to set proper gain levels is key. Make sure your audio isn’t too loud or too soft. This affects sound quality. Use headphones to check your levels and avoid feedback.
This helps you get clear, professional-quality recordings from the start.
Basic Recording Practices
Among the foundational recording practices, learning to set proper gain levels is imperative. Ensure your audio isn’t too hot or too low, as this can affect sound quality. Use headphones to monitor your levels and minimize feedback. This will help you to capture clear, professional-quality recordings right from the start.
Layering and Mixing Basics
Creating depth in your tracks is important. Start with a basic melody or rhythm. Then add harmonies, percussion, or effects for more depth.
Balance each track’s volume and panning. This prevents overcrowding and keeps your sound clear.
For example, when layering vocals or instruments, keep a consistent dynamic range. Use EQ to make each layer stand out. Add reverb or delay wisely to enhance space without losing clarity. With practice, you’ll improve your recordings.
Focus on balance and a dynamic feel for better listener engagement.
Summing up
Building a home recording studio on a budget is possible with careful planning. Focus on quality audio interfaces, microphones, and acoustics. Look for second-hand equipment and free software to save money.
Being resourceful and strategic lets you create a functional and inspiring space. You can do this without spending too much.
FAQ
Q: What are the vital equipment items needed to set up a home recording studio on a budget?
A: To set up a budget-friendly studio, get an audio interface, a good condenser microphone, headphones, monitors, and acoustic treatment. An audio interface connects your microphone and instruments to your computer. A condenser microphone captures vocals and instruments clearly.
Closed-back headphones are key for monitoring without sound bleeding. If you can, invest in studio monitors for better mixing. Use foam panels or DIY solutions to improve room acoustics.
Q: What software should I use for recording music at home on a budget?
A: There are many affordable digital audio workstations (DAWs) for recording music on a budget. Audacity, GarageBand (for Mac users), or Cakewalk by BandLab are great free options for beginners. For more features at a good price, consider FL Studio, Reaper, or Ableton Live Lite.
Choose software that fits your workflow and style. Make sure it can handle the tasks you need for your music production.
Q: How can I improve the acoustics of my home recording studio without spending a lot of money?
A: Improving acoustics doesn’t have to cost a lot. Start by identifying sound reflection areas. DIY acoustic panels using rock wool insulation and fabric can help. Thick curtains or blankets can also absorb sound.
Carpeting can reduce floor reflections. Arrange furniture to break up sound waves. Use bookshelves for added diffusion. While professional treatment is better, simple items can greatly improve your recording environment.